Friday, September 6, 2013

A Great Way to Kick Off Fall

In my last post I said that we took a day off and had a bit of an excursion. We had lunch with the Ter Bear at a bed and breakfast called Westfir Lodge with only 6 things on the menu and a whole lot of history. We then ventured onto country roads and spent time noticing a clear start to fall. The leaves are all changing colors. The lakes are all getting low. We couldn't help but run out to the exposed tree stumps in Hills Creek Lake, and Terry took us to a river he grew up fishing on. We found SO many places to go hiking, saw a golden eagle, snake, and a scorpion! Yep.. a scorpion in the Oregon mountains. I never would have expected to see that!
It is possible tomorrow will be another day of adventures. Yahooey! I am expecting a LONG winter so we have to get them in while we can!


Wednesday, September 4, 2013

Cottage Update

The cottage has come so far in such a short time. Every time I am ready to update so much more work has been done! I can't keep up! That is a good thing.. Seeing Wayne work like this is pretty impressive. I have only seen him work in the service industry(which is mentally tough), and we lived in a condo for 4 years with a maintenance crew so he never had to lift a finger. Now he is literally breaking his fingers! I have to post while I can because tomorrow is another day, and I am sure the work will continue. Today we took the day off, and took a bit of an adventure. I will be posting that up here soon also!
Enjoy! Let me know if you have any questions!
The next steps are making the hole for the wood stove, trim work, painting, and flooring!


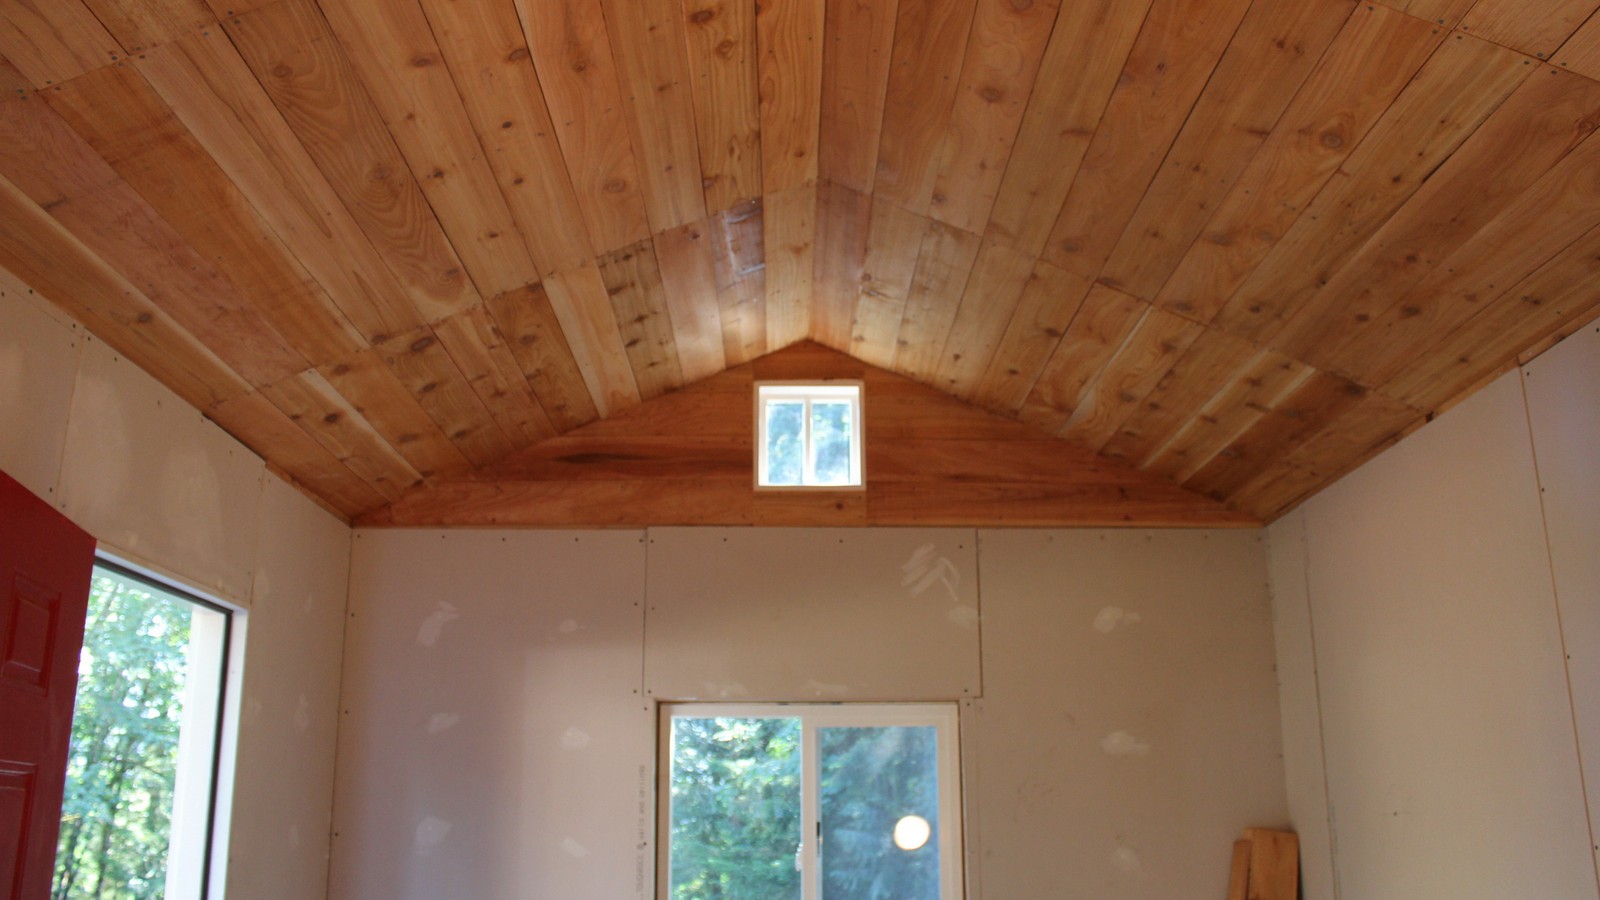
This man has got skills..

Friday, August 30, 2013

A Sweet Random Gift

I am one of those lucky ladies who gets to brag about their boyfriends.. I ran to the post office and when I came home this baby was sitting on our bed. Lucky for me the good boyfriend took a photo of the package with my camera while I was gone to document it for me. I always say if there wasn't a photo it didn't happen.. He knows me too well.


Inside was a Chemex coffee carafe, filters, and a brush! I have always wanted one and he knows it!♥


How do you try the best tasting coffee in the world? Black. Black it was. I had the jitters half way through my cup I had to stop drinking it! This will be our go-to for some SERIOUSLY quick energy. I am one happy lady.


Thank you dear ♥


Sunday, August 25, 2013

How To Make Rustic Mr. & Mrs. Wedding Chair Signs

What kind of blog would this be if I didn't give away tips, tricks, and secrets?! I wanted to show you how I make My Etsy Shop's "Mr. & Mr.s" rustic wedding chair signs!


To get started I must note that the Poplar wood comes in both 2 foot(cost $2.91) and 4 foot lengths(cost $6.94) by 5.5 inches wide. I get my Poplar craft wood from Lowe's and Wayne cuts them to size(12 inch pieces) for me. I choose poplar wood because it is a harder wood. I have used pine in the past. It is much softer so it gets marked up/scraped much more than the poplar does. Seeing as we are going for a rustic look scratches are a good thing, but I have to ship these babies so I would like to see that they hold up well.
Once cut into 12 inch pieces I measure in two inches from both sides and make a small dot. This is where the drill, and the junk slab of wood comes in. Make sure to place the slab of wood under your poplar. You need something there to take the impact of the drill bit going through the poplar wood. I use a jute twine that is found at almost any hardware store. I make sure that my drill bit hole is just a bit larger than the twine. Adjust the size based on the twine or ribbon you will be using.
Next start rounding off the sides and corners of the wood. It gives the signs a softer look, and once again better for me to ship!
The next step is to take your sponge brush and dip it lightly into the red mahogany stain. Run it on the inside rim to get as much stain off as you can. It spreads out a lot with just a tiny bit. I go for the lighter more walnut-y 'washed' look. I recommend spreading it with the flat edge of the sponge pressed down and moved side to side. Less of a paintbrush stroke, more like a wipe.
Like so..
Once dry (left in the sun for a whole day does the trick-if the sun is not an option then a hairdryer would work). You will now need your jute twine(found at almost any hardware store), scissors and I use a 6mm Zig Posterman broad chisel tip waterproof white ink marker. I have used paint pens. They do NOT even come close to being as easy to use as these markers do.
Find a typeface you want to write in. I do a lot of screenshotting of fonts that I come across. I try to change them up, and make them uniquely mine. They are mostly just a guideline.


Cut two 3 foot pieces of twine. I make my twine adjustable so that they can be hung on any kind of chair, and re-bowed. "Mr." has a adjustable bow on the left, and "Mrs." has an adjustable bow on the right. See photo's for details on stringing the signs.


I hope I have inspired some of you to get to your nearest hardware store. If this is just an unbearable amount of work.. I do have the sets available in my shop for $30 each! Stop on by at Dream State's Etsy Shop and see what signs I have available right now. They are always changing!

Wednesday, August 21, 2013

DIY Coffee Table on a Budget!


I have been vocal around the house about needing a coffee table because we recently got a new rug for the living room. It just flies around. A simple nice wood table would do just the trick! I have been on the hunt at antique stores looking for one, and yesterday while I was printing orders all day- Wayne was making all kinds of ruckus and tells me he is going to build me one! I said.... "Can I document in between printing? Just yell for me!", I was so excited!
The thing turned out fantastic! He made sure to pick out the most knotty(naughty) boards he could find, and note: This was all made out of materials that we had on hand. If you went out to buy the materials this table would still only run you less than $10.00! It is 100% cedar too. He sanded 4 cedar 5 foot fence boards, which typically only run about $1.50 each. The legs and under framing were made out of a 4 foot salvaged 2x6 board from my parents porch that they recently had replaced, and a hand full of nails! A nice Lin Seed oil finish to bring out the cedar color, and Presto! All it was missing was a cute little puppy and a table top cactus!


The boy has got skills.