Showing posts with label Creations. Show all posts

Sunday, June 29, 2014

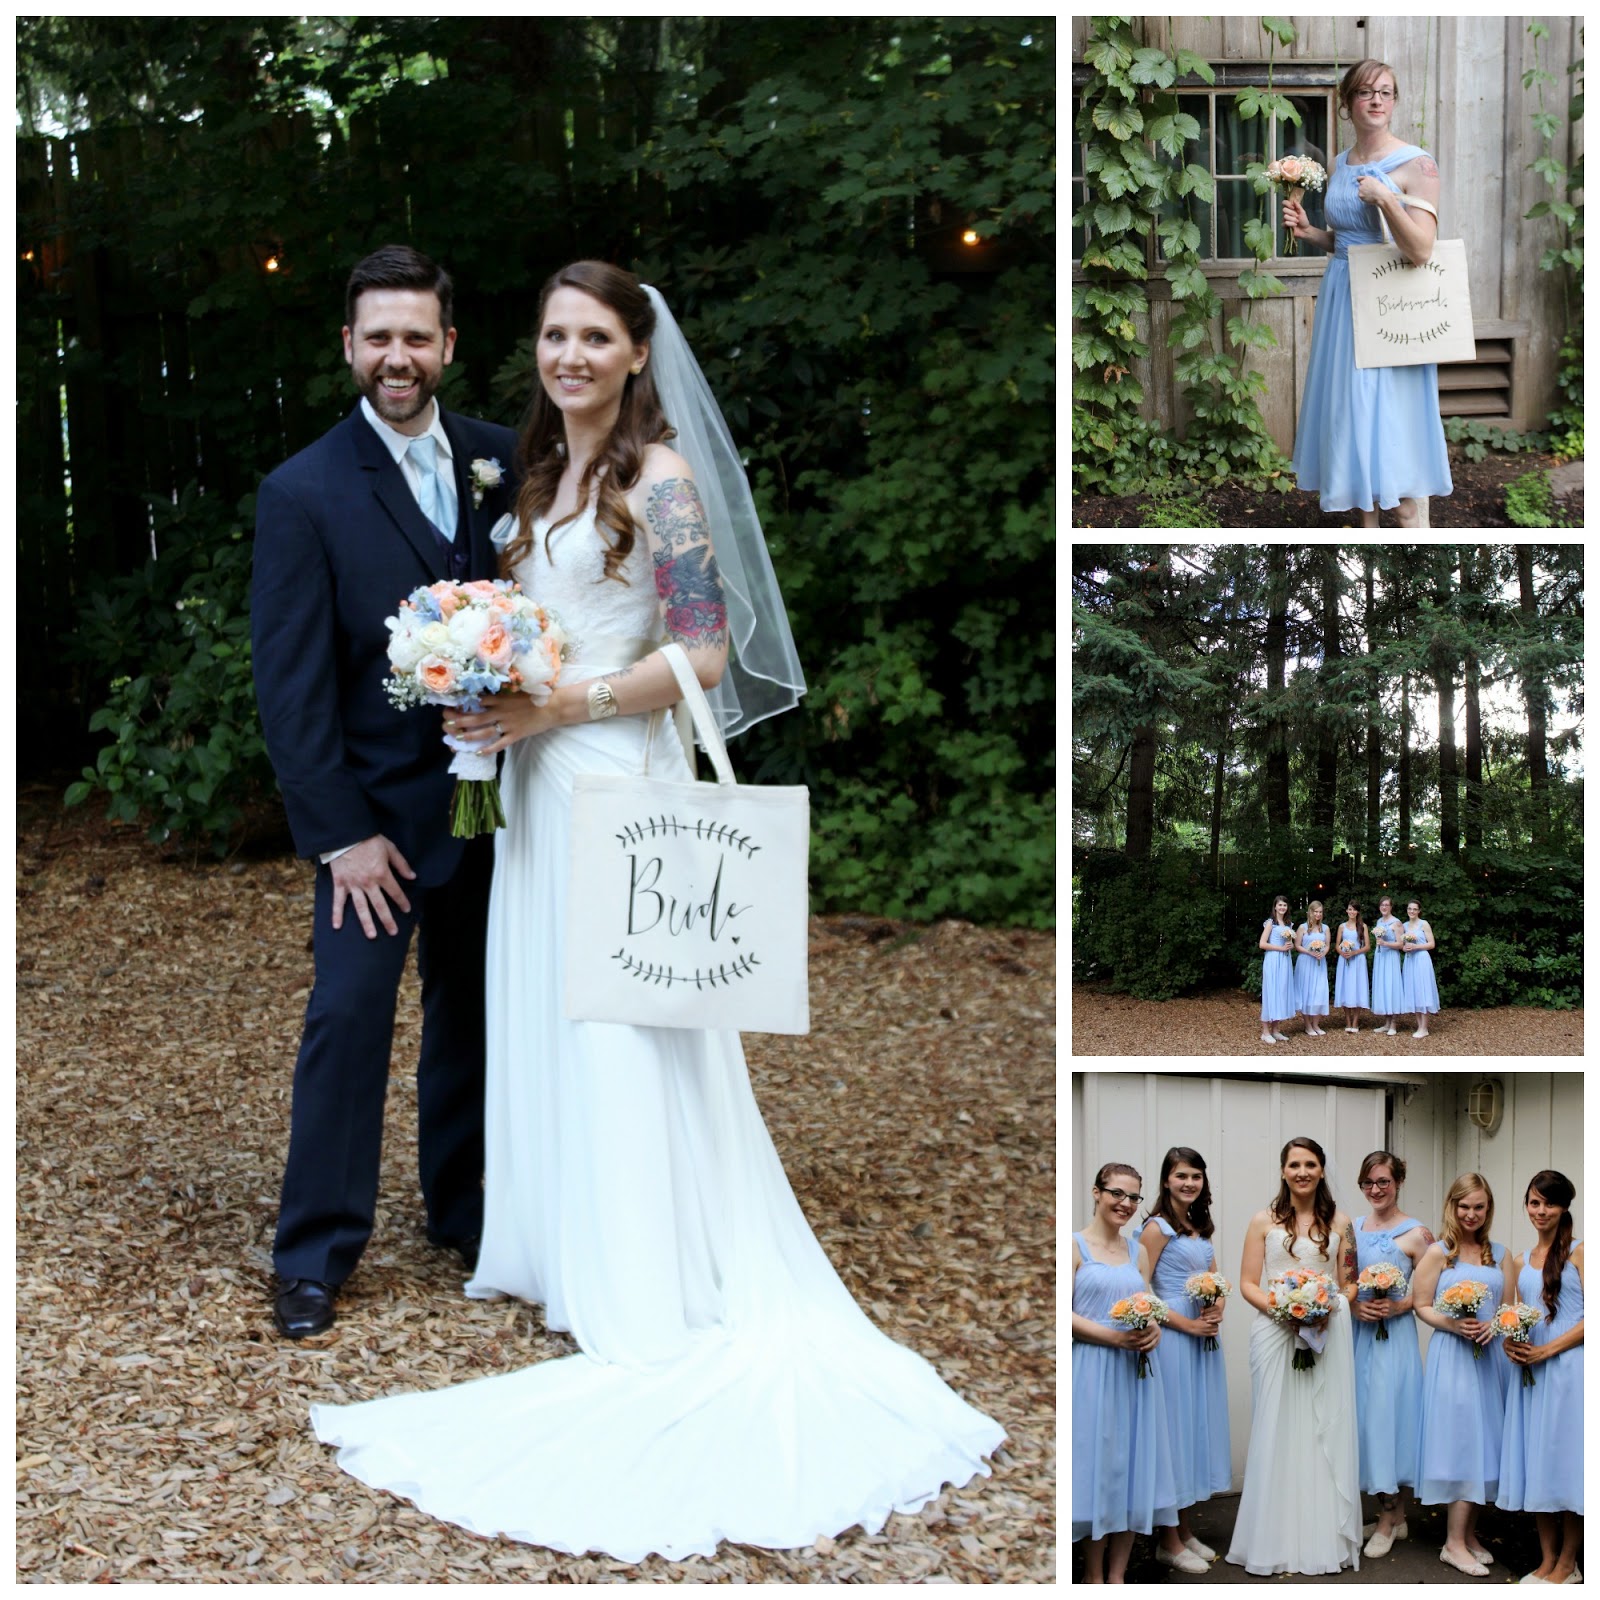
Brittney's Happily Ever After Starts Here

We had a Pre-Wedding Spa Day. It was AAAmazing... Steam room, facials, foot soaks, shower body scrubs, and endless amounts of delicious organic tea. This little slice of heaven is in PDX, and just what you need to detox and relax(especially pre-wedding). Check them out: Loyly
As for the wedding day.. Brace yourself for the prettiest barn wedding! This venue was unreal. The details were impeccable! Everything was spot on. You could even say it put you in a 'dream state'. :) I even got to feature my work all through the wedding. All of the dark wood calligraphy font signs are mine(They will be going up for grabs in my shop here shortly). The bride used the Laurel Wreath Bridal Bag that I gave her when I found out that she was engaged (Available here: My Shop). 
I also had the awesome privilege of being one of her Bridesmaids. Standing by her side on her wedding day was an honor -- not only because she is my friend, but their love for each other is so strong and powerful. You can feel it's energy, and there is definitely beauty in that.
While everyone was dancing and the bassy music was blasting a barn owl circled around the barn a few times (obviously curious by the noise). I googled it while standing there in amazement, and found out owls bring 'good furtune'. What better way to end the night??.. 

...and they lived happily ever after.

Saturday, April 26, 2014

DIY Rustic Party Decoration or Party Favor Stamped Wood Rounds

Let us get back into things! I have been SO BUSY! Between printing, packing, shipping, and yard work.. there is only coffee, sleep, and repeat.

I was sorting through my wood rounds last night, and realized that I am left with only a small handful of wood rounds that are 2.5-3 inches wide. Everything else is much smaller.. So until I get some more cut I had to deactivate my current shop listings. While thinking about how I lack a variety in my shop I started playing around with my small wood rounds and some stamps that I have.. A light bulb flicked on and I knew I had a blog post lined up(finally)!
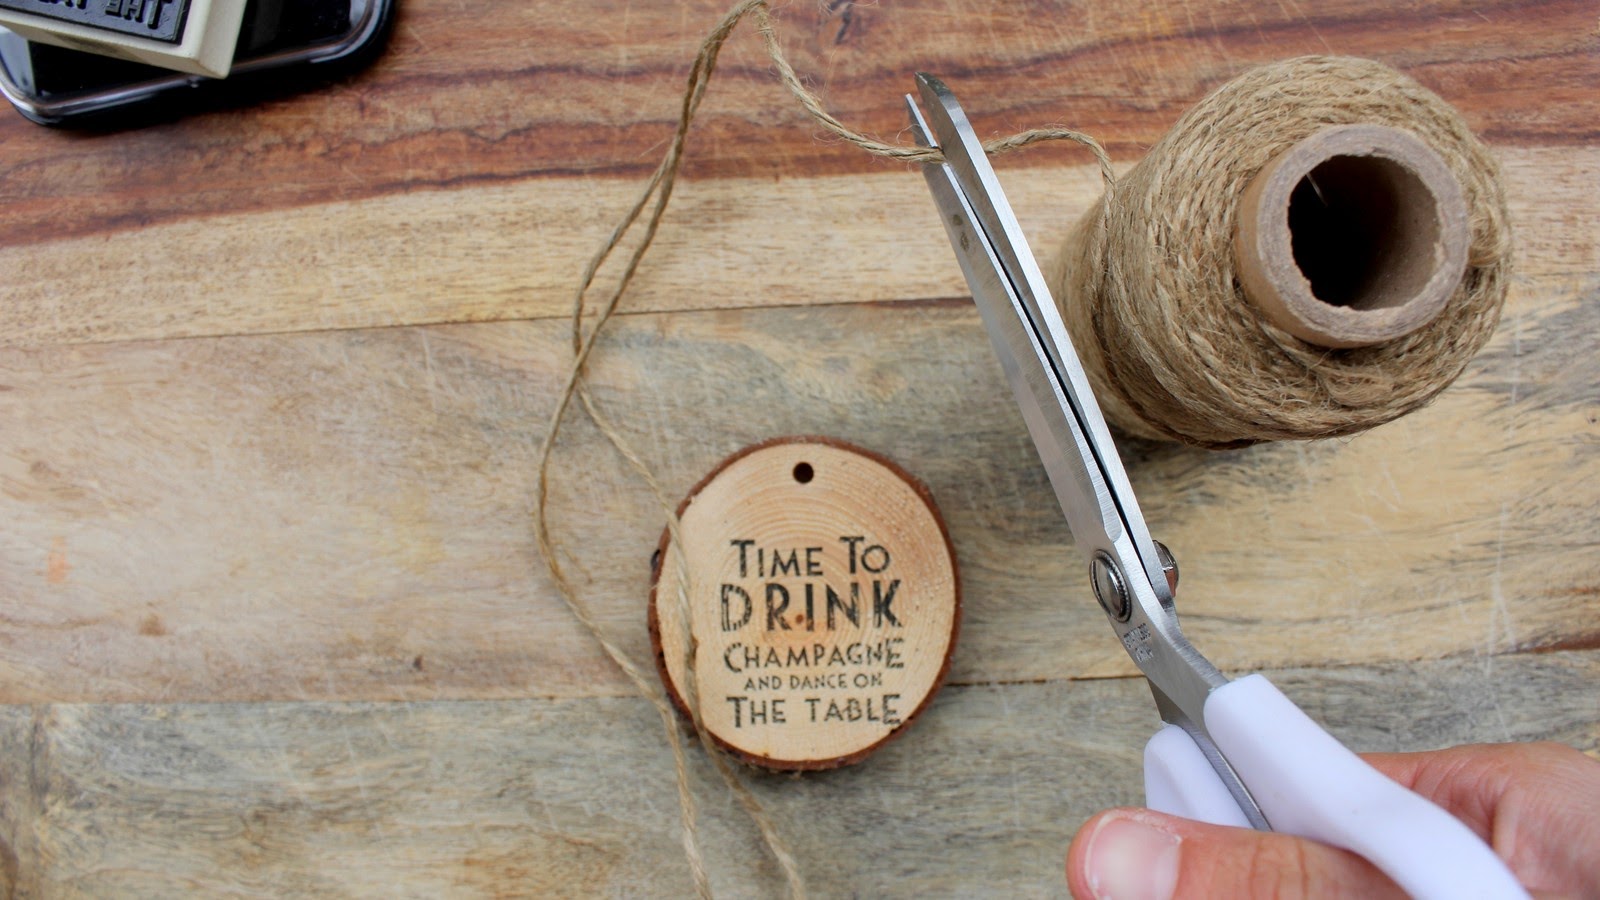
Obviously all of you know how to dab an ink pad and stamp, but things like this sometimes are just too simple to really connect. I have had these things lying around and never really thought about stamping on them. You could also skip the drilling, and hot glue the wood rounds to a magnet!
They make adorable decorations for a bridal shower, or toss them in a cellophane bag with a bow for engagement party favors!
The 'All you need is Love' stamp was made by ::  Paper Sushi (I LOVE all of Jen's work)
The 'Time to Drink Champagne and Dance on the Table' stamp is a East of India brand and is hard to find in the U.S. I purchased mine off of Ebay from a shop in the UK.


Now get crafting! The ideas are endless!


Sunday, December 22, 2013

How To Make a Simple Photobooth Backdrop


You will need:
Scrapbooking paper in the color and texture of your choice, a sewing machine, a dowel(mine was a cedar fence board that was cut with a table saw), tape, and a circle paper punch(mine was 2 1/2 inches).

Start punching your circles out. I used 3 different types of gold paper. 2 in which were glitter paper.. I recommend keeping your scrapbooking paper simple. The glitter kept getting stuck in the puncher, and jamming it. It hurt my hands, and I wished that I would have just used the simple shiny gold paper instead for the whole project. The backdrop would have been bigger, but my hands hurt from stamping the thick glitter paper. So there is my 2 cents on paper types. Keep it simple.

Once you are ready to start sewing them together - Make sure that you have quite a bit of thread extended out to begin with. It will be the top of the strand. You will need enough to wrap that thread around the dowel when the strand is completed.
Make sure to have your tension loose, and will you have to pull the paper while sewing to separate the circles. If you don't the thread will cinch together leaving no gap between the circles. 
I made my strands all different lengths. The shortest had 17 dots, and the longest had 24.
 I wrapped the thread around the dowel at least twice. I then taped the thread in place on the top, and on the back. It would be wise to staple gun the tape also. I did not, but made sure to be VERY gentle in transporting, and untangling.
The end result was about 5 feet tall and 4 feet wide. The project took me about 6 hours, but I had a hard time as you know. The time would have been cut in half if I had stuck with a simple flat surfaced paper. So do take that into consideration.
Now that it is completed, Get those photo props ready! I got mine HERE. Enjoy!

Saturday, October 19, 2013

DIY His & Her Mugs


I picked up a Pebeo Porcelaine 150 Pen after seeing so many DIY ceramic cup plate and platter projects popping up on Pinterest a while back. We had some plain white mugs laying around from a set of dishware we got for the new house. Everything was made in the USA expect for the mugs. They were made in China (of course). We decided that we would donate the mugs. We didn't really need them anyways.. A light bulb went off in my head! I can draw on them and give them as newlywed His & Her gift sets!


I drew sweet messages and let them sit for 72 hours, then baked them for 30 minutes at 300 degrees. Leave the mugs to sit in the oven to cool down gradually to room temperature. Then they are ready to gift or start using! They would make great engagement announcement photos too.


Tuesday, September 24, 2013

How To Make Wood Round Table Numbers

When we moved into the new house, there were a TON (quite literally) of downed trees and tree dibris. With the doug fir branches that were cut to give us our view of the lake from the house.. We started to cut and chip all of them up, and I thought just maybe I could use these! I asked Wayne to cut a bunch with his chop saw. I put them up in my shop and instantly people wanted them. Rustic themed parties are in these days! So I thought I would show you guys how we do it!

Here is a tip to get you started:
We figured out that young trees are not as tightly bound like the old trees branches. The branches are less grooved and much easier to write on! So go for branches.

Do note that these branches were already dry by the time that we got here. So they will not split. If you are working with green wood. You need a wood stabilizer called Pentacryl to keep them from splitting. This goes for large wood rounds for centerpieces also.


I use Polycrylic as a surface protector. It really isn't necessary though. It helps protect wood surfaces from water damage. I wanted it to kindof glue the moss and reinforce the bark. It gives the wood a semi glossy look.


I drill them, and hang them with twine. The ideas are endless for these little things!


Learning to work with wood is interesting. It is one thing that I never thought that I would be doing, but making wood signs for my shop is my getaway from all of the screen printing! I like doing something different.. I hope you guys enjoy learning along with me! Check out my Etsy shop to see what I have been up to. If it just isn't possible that you can make them on your own I do have them available for purchase in my shop.

Sunday, August 25, 2013

How To Make Rustic Mr. & Mrs. Wedding Chair Signs

What kind of blog would this be if I didn't give away tips, tricks, and secrets?! I wanted to show you how I make My Etsy Shop's "Mr. & Mr.s" rustic wedding chair signs!


To get started I must note that the Poplar wood comes in both 2 foot(cost $2.91) and 4 foot lengths(cost $6.94) by 5.5 inches wide. I get my Poplar craft wood from Lowe's and Wayne cuts them to size(12 inch pieces) for me. I choose poplar wood because it is a harder wood. I have used pine in the past. It is much softer so it gets marked up/scraped much more than the poplar does. Seeing as we are going for a rustic look scratches are a good thing, but I have to ship these babies so I would like to see that they hold up well.
Once cut into 12 inch pieces I measure in two inches from both sides and make a small dot. This is where the drill, and the junk slab of wood comes in. Make sure to place the slab of wood under your poplar. You need something there to take the impact of the drill bit going through the poplar wood. I use a jute twine that is found at almost any hardware store. I make sure that my drill bit hole is just a bit larger than the twine. Adjust the size based on the twine or ribbon you will be using.
Next start rounding off the sides and corners of the wood. It gives the signs a softer look, and once again better for me to ship!
The next step is to take your sponge brush and dip it lightly into the red mahogany stain. Run it on the inside rim to get as much stain off as you can. It spreads out a lot with just a tiny bit. I go for the lighter more walnut-y 'washed' look. I recommend spreading it with the flat edge of the sponge pressed down and moved side to side. Less of a paintbrush stroke, more like a wipe.
Like so..
Once dry (left in the sun for a whole day does the trick-if the sun is not an option then a hairdryer would work). You will now need your jute twine(found at almost any hardware store), scissors and I use a 6mm Zig Posterman broad chisel tip waterproof white ink marker. I have used paint pens. They do NOT even come close to being as easy to use as these markers do.
Find a typeface you want to write in. I do a lot of screenshotting of fonts that I come across. I try to change them up, and make them uniquely mine. They are mostly just a guideline.


Cut two 3 foot pieces of twine. I make my twine adjustable so that they can be hung on any kind of chair, and re-bowed. "Mr." has a adjustable bow on the left, and "Mrs." has an adjustable bow on the right. See photo's for details on stringing the signs.


I hope I have inspired some of you to get to your nearest hardware store. If this is just an unbearable amount of work.. I do have the sets available in my shop for $30 each! Stop on by at Dream State's Etsy Shop and see what signs I have available right now. They are always changing!